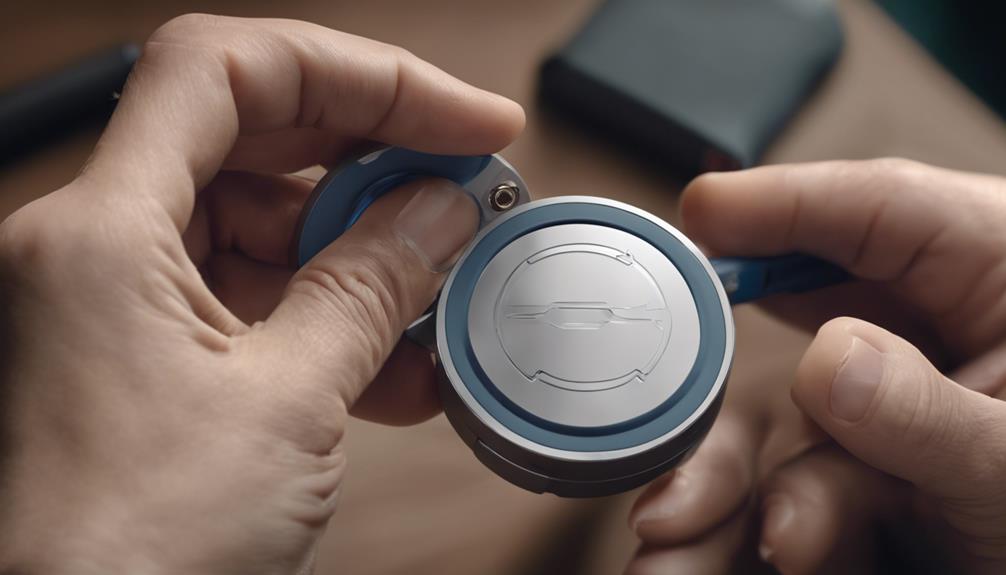
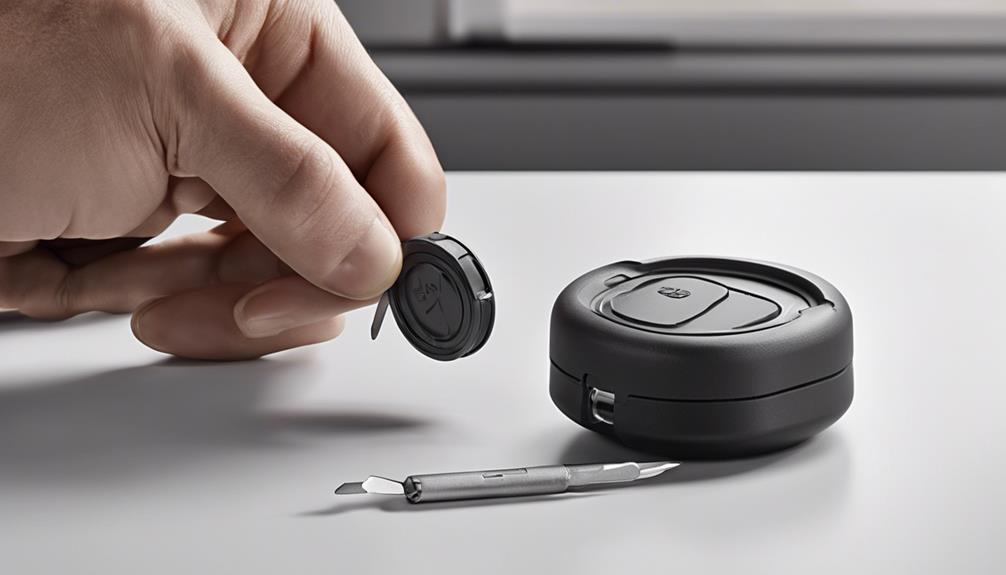
Ensuring smooth operation of your AirTag is crucial for optimal performance. Imagine effortlessly keeping track of your belongings without any disruptions.
The process of replacing the battery might seem daunting, but with five straightforward steps, it can be a breeze. From checking the battery level to closing the AirTag cover, each step plays a vital role in maintaining the device's efficiency.
Let's dive into the first step and uncover the secrets to a hassle-free battery replacement for your AirTag.
Key Takeaways
- Use Find My app to check battery level and receive notifications
- Open cover by pressing and rotating, ensuring proper sealing
- Remove old battery carefully and insert new one with correct orientation
- Follow systematic steps, listen for confirmation tones, and maintain tight sealing for optimal performance
Check AirTag Battery Level
To monitor the status of your AirTag's battery, utilize the Find My app to access the battery icon and check the current battery level. The AirTag uses a CR2032 battery, which provides a reliable power source for the device to work efficiently. Keeping an eye on the battery level is crucial to ensure that your AirTag functions properly. The battery icon within the Find My app will indicate the remaining battery life, allowing you to track when it's time for a replacement.
Apple has designed the AirTag to give you a low battery notification when the battery level is running low. This notification serves as a reminder for you to replace the battery promptly. By regularly checking the battery level through the Find My app, you can avoid any disruptions in tracking your belongings. Monitoring the battery status is essential for maintaining the optimal performance of your AirTag and ensuring that it continues to work effectively in helping you locate your items.
Open AirTag Cover

When it comes time to replace the battery in your Apple AirTag, opening the cover is a straightforward process that ensures access to the battery compartment for a seamless replacement.
The stainless steel backing of the AirTag features a cap that houses the CR2032 battery with a bitterant coating for safety. Hold the AirTag securely with the white base facing downward and the Apple logo facing up.
Press down on the two points located beside the Apple logo and rotate counterclockwise to unlock the cover. Once unlocked, carefully remove the metal backing to reveal the battery compartment.
When replacing the battery, make sure the positive side faces upwards to maintain proper functionality. To close the cover, align it correctly and rotate it clockwise until you hear a slight click, indicating that the AirTag is securely sealed.
This process ensures that your AirTag remains operational and ready for use.
Remove Old Battery
Carefully grasp the AirTag with the white base pointing downwards and the Apple logo oriented upwards to begin the removal of the old battery. Press down on the two points beside the logo and turn the cap counterclockwise until the cover stops.
Once the cover stops turning, carefully remove the metal backing to reveal the old battery. Take out the old battery and ensure to check the battery orientation before proceeding. When replacing the battery, make sure the plus side is facing up for the correct alignment.
After replacing the old battery, align the cover back onto the AirTag and twist it clockwise until you hear a slight click, indicating that the cover is securely in place. This step ensures the new battery is properly enclosed within the AirTag. Remember to handle the old battery properly and dispose of it according to local regulations.
Insert New Battery

While handling the CR2032 battery for your AirTag replacement, ensure that the positive side faces upwards for correct insertion. Here are three key points to keep in mind when inserting the new battery:
- Align Properly: Make sure to align the cap grooves with the corresponding holes on the AirTag to ensure the new battery is placed correctly.
- Confirmation Tone: After inserting the new battery, listen for a tone that will let you know the battery has been inserted correctly. This tone confirms that the AirTag is ready to function with the new battery.
- Seal the AirTag: Rotate the cap clockwise to seal the AirTag after inserting the new battery. Properly sealing the AirTag is essential to ensure the battery stays in place and allows the device to work with the new battery effectively.
Close AirTag Cover
After successfully inserting the new battery into your AirTag, the next step is to securely close the AirTag cover by rotating it clockwise until you hear a small sound.
When closing the AirTag cover, ensure you hold the stainless steel side of the device. The audible confirmation tone that follows indicates that the cover is properly sealed, ensuring the battery remains securely in place.
This sealing step is crucial as it finalizes the battery replacement process, guaranteeing that the AirTag functions optimally. By rotating the cover clockwise, the three tabs on the cover align and lock into place, creating a tight seal.
Remember, the clockwise rotation is essential for a secure fit; rotating the cover counterclockwise will not seal the AirTag correctly.
A properly sealed AirTag cover is fundamental for the device to operate efficiently and maintain its functionality.
Frequently Asked Questions
How Do I Replace the Battery in My Airtag?
To replace the battery in your AirTag, ensure you have a CR2032 battery. Press down and rotate the cap counterclockwise to access the battery compartment. Insert the new battery with the plus side up, seal by rotating clockwise.
How Do I Reset My Airtag With a New Battery?
To reset your AirTag with a new battery, align the CR2032 battery properly with the plus symbol facing up. Rotate the cap to secure it, ensuring the battery stays in place. Listen for the confirmation tone to complete the process successfully.
How Do I Pair My Airtag Again?
To pair your AirTag again, ensure it's powered on and near your iPhone. Follow on-screen instructions to complete the pairing process. Renaming the device for personalization is possible during this procedure. Successful pairing enables tracking via the Find My app.
Why Isn T My Airtag Working After Battery Change?
Ensure correct battery orientation with the plus side facing up in the AirTag to prevent functionality issues after a battery change. Properly seal the AirTag by rotating the cap clockwise. If issues persist, troubleshoot or seek Apple support.
Conclusion
In conclusion, replacing the battery in your AirTag is a straightforward process that can be completed in just five simple steps.
By following the outlined directions carefully, you can ensure a smooth transition to a new battery without any hassle.
Remember to check the Find My app after replacing the battery to confirm that the process was successful.
By following these steps, you can keep your AirTag functioning optimally at all times.


