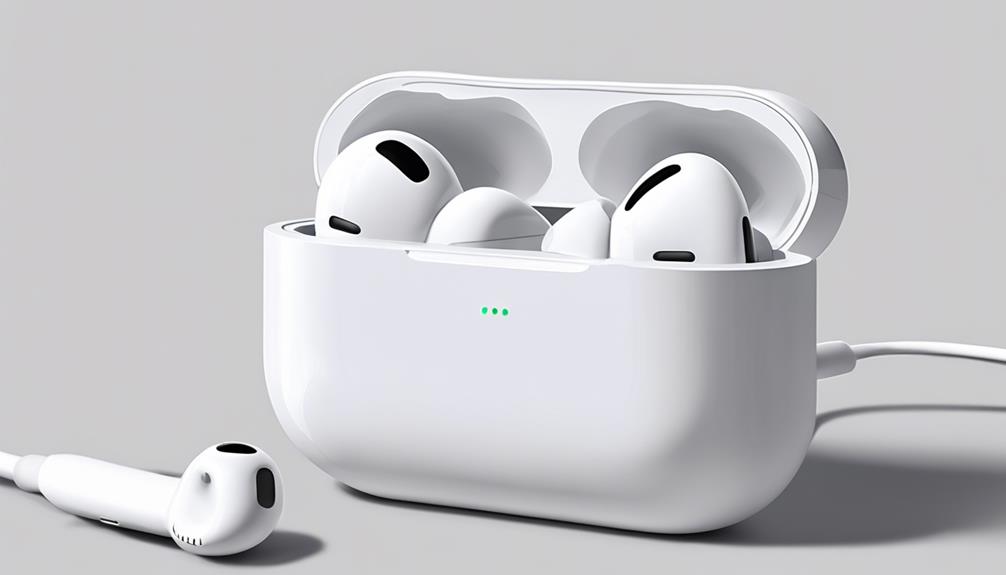

Discovering the easy way to change the ear tips on your AirPods Pro can enhance your listening experience significantly. Focusing on key factors such as selecting the right size and ensuring a secure fit can enhance both comfort and sound quality.
However, the journey doesn't end there. Understanding the nuances of troubleshooting and maintenance can make a substantial difference in the longevity and performance of your AirPods.
Stay tuned to uncover these essential steps for a hassle-free AirPod Pro replacing experience.
Key Takeaways
- Verify warranty status before ordering replacement AirPod Pro.
- Order replacement directly from Apple for cost-effective solution.
- Follow pairing procedure carefully for successful replacement AirPod setup.
- Maintain AirPod Pro quality by cleaning regularly and replacing damaged ear tips promptly.

CurvLife Soft Gel Extra Short Press on Nails, 30Pcs Honey Peach Pink Oval Acrylic Fake Nails with Design Full Cover for Women Reusable Square Press on Nail Kit with Nail Glue Adhesive Tabs
Soft Gel Short Press On Nails:Our Handmade Gel Square Press-On Nails are produced using a manual process. Each...
As an affiliate, we earn on qualifying purchases.
Checking AirPod Pro Warranty Status
To determine the warranty status of your AirPod Pro, you can easily check it by visiting Apple's official website and accessing the 'Check Coverage' section where you will need to input the device's serial number. Make sure to have the serial number readily available, as it is essential for verifying the warranty coverage of your AirPod Pro.
By entering this information, you can see if there's still active coverage for your device, which is crucial in understanding the available support options. Warranty coverage varies based on factors like the purchase date and any additional AppleCare+ protection you may have purchased.
Knowing your warranty status is important as it helps you ascertain if your AirPod Pro qualifies for complimentary replacement tips or other services. The serial number can typically be found on the original packaging or in the Settings app on your connected iOS device, making it easily accessible for warranty verification purposes.
Amazon Product B0FL22Y8DJ
As an affiliate, we earn on qualifying purchases.
Ordering a Single Replacement AirPod

When needing to replace a single AirPod, you can conveniently order it directly from Apple's official website or authorized retailers. Single AirPod replacements are available for both the left and right AirPods. These replacement AirPods come with a new charging case but do not include the original case. Ordering a single replacement AirPod can be a more cost-effective solution than purchasing an entirely new set, especially if only one of your AirPods is damaged or lost. It's essential to check for warranty coverage or AppleCare+ as they may offer replacement options that could reduce the cost of getting a new AirPod.
| Replacement AirPods Facts | |
|---|---|
| Available for left and right | |
| Come with a new charging case | |
| Do not include the original case | |
| Can be cost-effective | |
| Check warranty for coverage |

modelones French Tip Press On Nails, Short Oval Fake Nails Press Ons with Nail Glue, Adhesive Tabs, Nail File, Prep Pad, Manicure Stick, 32Pcs 16 Sizes, Nude, Summer Women Girl Gift
【What you will get】This Full Cover glue on nails set comes with 32 pcs reusable false nails in...
As an affiliate, we earn on qualifying purchases.
Pairing Replacement Airpod With Existing One
When replacing a single AirPod and needing to pair it with an existing one, the process involves placing both AirPods in the charging case and following a simple pairing procedure on your device.
Begin by placing both the replacement AirPod and the existing one in the charging case and ensure the lid is open. Wait for the status light on the case to flash white, indicating that the AirPods are in pairing mode.
On your device, navigate to the Bluetooth settings and locate the AirPods in the list of available devices. Select the AirPods and follow the on-screen instructions to complete the pairing process between the replacement AirPod and the existing one.
Once the pairing is successful, test the connection by playing audio through both AirPods to confirm they are working in unison. This straightforward process ensures that your replacement AirPod integrates seamlessly with your existing one, providing you with uninterrupted audio experiences.

Glamnetic Press On Nails - MaDamn | French Tip UV Finish Short Pointed Almond Fake Nails, Salon Quality Semi-Transparent Nails in 12 Sizes - 24 Nail Kit with Glue
High-Quality Press-On Nail Kit: All Glamnetic Press-On Nail Sets offer high-quality salon style and feature protective UV coating,...
As an affiliate, we earn on qualifying purchases.
Troubleshooting Common Replacement Issues

Common Replacement Issues Troubleshooting Techniques
When encountering issues with replacing AirPod Pro ear tips, there are several troubleshooting techniques to consider. Firstly, if the ear tip does not click securely into place, try removing and reattaching it to ensure proper alignment. Twisting or misalignment of the ear tip can lead to discomfort and impact sound quality, so make sure it is correctly positioned. If the ear tip feels loose or falls off easily, experiment with different sizes to find the best fit for your ear canal.
Regularly cleaning the ear tips is crucial to prevent earwax buildup, which can affect both the fit and sound isolation. Should you experience discomfort or pain while using the ear tips, seek guidance from an audiologist or Apple support for assistance with proper fit and adjustment. By following these troubleshooting techniques, you can address common replacement issues and optimize your AirPod Pro experience.
Tips for Maintaining AirPod Pro Quality
To ensure optimal performance and longevity of your AirPod Pro, it is essential to follow proper maintenance tips. Regularly cleaning the ear tips with a damp cloth helps maintain hygiene and prevents the build-up of earwax, ensuring a clear sound experience. Storing your AirPods in their case when not in use is crucial for protecting the ear tips and maintaining overall quality. Additionally, it is important to replace ear tips if they become damaged, lose their shape, or do not fit securely to uphold optimal sound quality.
Avoid using sharp objects to clean or adjust the ear tips as this can damage the soft rubber exterior. Checking for debris or blockages in the ear tips regularly is necessary to ensure proper audio transmission and comfort during use. By following these maintenance tips diligently, you can prolong the life of your AirPod Pro and enjoy a consistently high-quality listening experience.
Frequently Asked Questions
How Do You Replace Airpod Pro Tips?
To replace AirPod Pro tips, gently remove the existing tip by pulling it away. Align the new tip correctly and press it in until you hear a click. Ensure a secure attachment and proper alignment for comfort and optimal fit.
Why Won T My Airpod Pro Tips Go On?
AirPod Pro tips may not attach due to improper alignment, cleanliness, or fit. Ensure correct orientation, cleanliness, and consider different sizes. Employ gentle pressure and rotation for proper installation. If issues persist, contact Apple Support for assistance.
How Do I Know Which Airpod Tip to Use?
To determine the appropriate AirPod Pro tip, consider the size marking (S, M, L) for your ear canal. Test different sizes for comfort and security, ensuring a snug seal for optimal sound quality and noise isolation. Consult the user manual or Apple support for guidance.
Does Apple Make Replacement Airpod Tips?
Yes, Apple offers replacement AirPod Pro tips in small, medium, and large sizes for optimal comfort and sound quality. It is recommended to periodically replace these to ensure a secure fit. Installation is simple by aligning and pressing them securely onto the AirPods.
Conclusion
In conclusion, ensuring the proper fit and maintenance of your AirPod Pro ear tips is essential for a great audio experience. By following the easy steps outlined in this article, you can easily replace your ear tips and enjoy comfort and secure fit.
Remember to check warranty status, order replacements as needed, pair them correctly, troubleshoot any issues, and maintain the quality of your AirPod Pro for optimal performance. Share these tips with friends for an enhanced listening experience.