
When you replace the battery in your AirTag and it stops working, it can be really confusing. Despite following the typical steps, encountering this problem is quite common. If you want to figure out what went wrong with your AirTag, keep reading to uncover the mystery.
In such instances, exploring the intricate interplay between the AirTag's internal mechanisms and the new battery can be a pivotal step. However, there exists a myriad of potential culprits that may contribute to this dilemma.
Stay tuned as we unravel the layers of complexity behind AirTag's enigmatic behavior post-battery swap, shedding light on troubleshooting strategies that might just hold the key to resolving this conundrum.
Key Takeaways
- Verify battery alignment and compatibility for proper AirTag function.
- Update AirTag firmware for enhanced performance and connectivity.
- Re-add AirTag on Find My app to ensure recognition and connection.
- Perform maintenance steps like factory reset and secure battery replacement for troubleshooting.
Top picks for "troubleshoot airtag work"
Open Amazon search results for this keyword.
As an affiliate, we earn on qualifying purchases.
Common Reasons for AirTag Malfunction
When troubleshooting AirTag battery replacement, understanding the common reasons for AirTag malfunction is essential to pinpointing issues accurately and efficiently.
One prevalent issue arises from the bitter coating found on CR2032 V3 batteries commonly used in AirTags. This bitterant coating, a safety feature to prevent accidental ingestion, can interfere with the connection between the battery and the device, leading to AirTag not working properly.
To address this, users can carefully remove the bitter film using isopropyl alcohol or screen cleaner. By cautiously rubbing off a portion of the bitterant coating, a proper connection can be established without compromising safety.
Isopropyl alcohol can be utilized to effectively clean the bitter layer and improve contact, resolving connecting issues. It is crucial to prioritize battery safety, especially when handling CR2032 V3 batteries with bitterant coatings, to ensure the optimal performance of Apple's AirTag tracking device.
Checking Battery Orientation and Compatibility

To ensure proper functionality of the AirTag after battery replacement, it is essential to carefully check the orientation and compatibility of the battery, starting with ensuring the positive side faces up within the device.
It is recommended to use a compatible CR2032 V3 battery to guarantee optimal performance. Avoid batteries with bitterant coatings as they can interfere with the connection. Verify that the battery is compatible with the AirTag model to prevent any post-replacement issues.
Properly align and secure the battery within the AirTag to ensure a seamless transition and avoid any connection issues. By following these steps diligently, you can maintain the proper functionality of your AirTag after replacing the battery, ensuring a smooth user experience without any interruptions.
Updating AirTag Firmware
Updating the AirTag firmware is a critical step in addressing connectivity issues and ensuring optimal performance. To effectively update the AirTag firmware, follow these steps:
- Check Firmware Compatibility: Ensure that the firmware version you are updating to is compatible with your AirTag model to prevent any software problems that may arise from running incompatible versions.
- iOS Device Compatibility: Make sure your iOS device is compatible with the latest AirTag firmware updates. Using an outdated iOS version may hinder the update process and result in connectivity issues.
- Enable Automatic Updates: Enabling Automatic Updates on your iOS device will help keep the AirTag firmware up to date without manual intervention. This proactive approach ensures that your AirTag is always running the latest firmware version, addressing any connectivity issues promptly and enhancing overall performance.
Re-Adding AirTag on Find My App

Upon successfully updating the AirTag firmware, the next step involves re-adding the AirTag on the Find My app to ensure seamless tracking functionality.
After replacing the AirTag battery, launch the Find My app on your iPhone and navigate to the 'Items' tab. Select 'Add Item' and proceed to follow the on-screen instructions to pair the AirTag with your iPhone once again. It is crucial to ensure that the AirTag is properly recognized and connected within the Find My app interface.
Once the re-adding process is successfully completed, conduct a test to verify that the AirTag is functioning correctly post-battery replacement. Should any issues persist during the re-adding process or if the AirTag does not seem to be working as expected, consider reaching out to Apple Support for further assistance and troubleshooting guidance.
Performing a Factory Reset on AirTag
Performing a factory reset on an AirTag involves a series of precise steps to ensure the device is ready for pairing with a new device.
To reset the AirTag after replacing the battery, follow these steps:
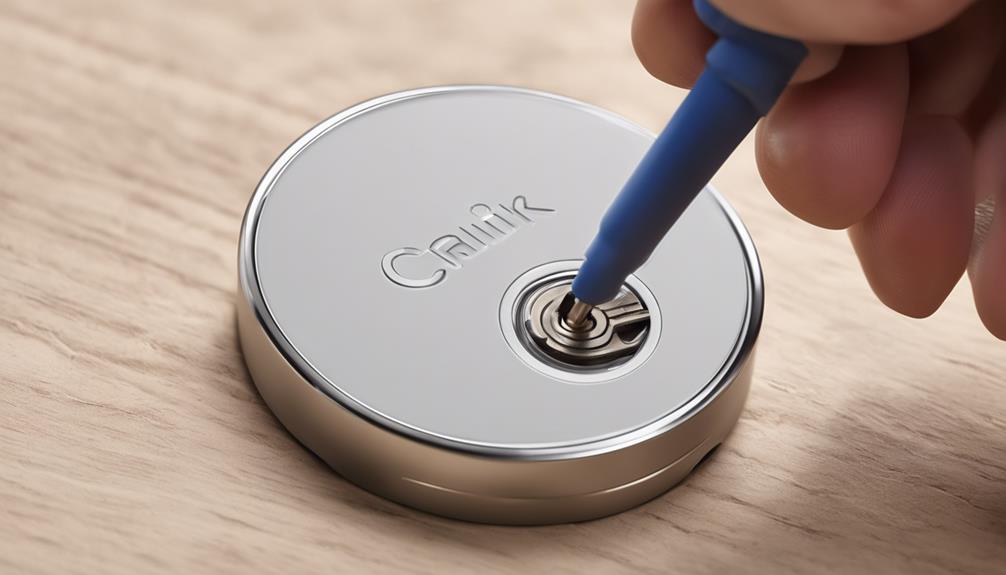
- Remove the Battery Cover: Press down on the battery cover and rotate counterclockwise to remove it. This allows access to the battery compartment for replacement.
- Replace the Battery: Carefully replace the battery and ensure it is securely in place. Press down on the battery until a distinct sound is heard, repeating this process five times to ensure proper connection.
- Pairing Readiness: Make sure the fifth sound is clear and distinct, indicating that the AirTag is now ready to pair with a new device. This step is crucial for resolving issues with the AirTag not working after a battery replacement.
If issues persist, consider cleaning the battery compartment coating using an alcohol wipe to ensure proper contact between the battery and the device.
Frequently Asked Questions
Why Isn T My Airtag Working After Battery Change?
After replacing the battery in an AirTag, issues with functionality can arise due to the bitterant coating on some CR2032 batteries. Cleaning this film with isopropyl alcohol or screen cleaner can restore proper connectivity.
How Do You Reset the Apple Airtag After Replacing the Battery?
After replacing the battery in an Apple AirTag, resetting it involves pressing down on the battery cover, rotating counterclockwise, and repeating the process five times until a distinct sound confirms successful reset, ready for pairing with a device.
Why Did My Airtag Suddenly Stop Working?
A sudden AirTag malfunction can be attributed to various factors such as battery connection issues, environmental factors, or software glitches. Proper troubleshooting, including checking the battery, cleaning the contacts, and ensuring proper alignment, is crucial.
How Do I Resync My Airtag?
To resync an AirTag, meticulously replace the battery following correct orientation and secure placement. Gently press down until a distinct sound confirms connection. Repeat the process multiple times, noting a unique sound on the fifth attempt for successful pairing.
Conclusion
In conclusion, troubleshooting AirTag issues after replacing the battery requires attention to detail and thorough troubleshooting steps. By ensuring correct battery orientation, compatibility, and performing necessary updates and resets, users can resolve most common issues.
Remember to seek further assistance if problems persist. Remember, with proper care and attention, your AirTag will be back to working condition in no time, making your life easier than ever before.